Student Objectives:
The student will recognize the value of keeping their elbows tight to their rib cage when an opponent takes their back.
The student will apply the Reverse Shrimp to get their back to the floor while maintaining safe hand positioning.
Teaching Cues:
Home Alone Hands
Reverse Shrimp
Shoulder to Floor
Hug the Knee
Belly Flop
Make a Grip
Slide
Lesson: Home Alone Back Escape
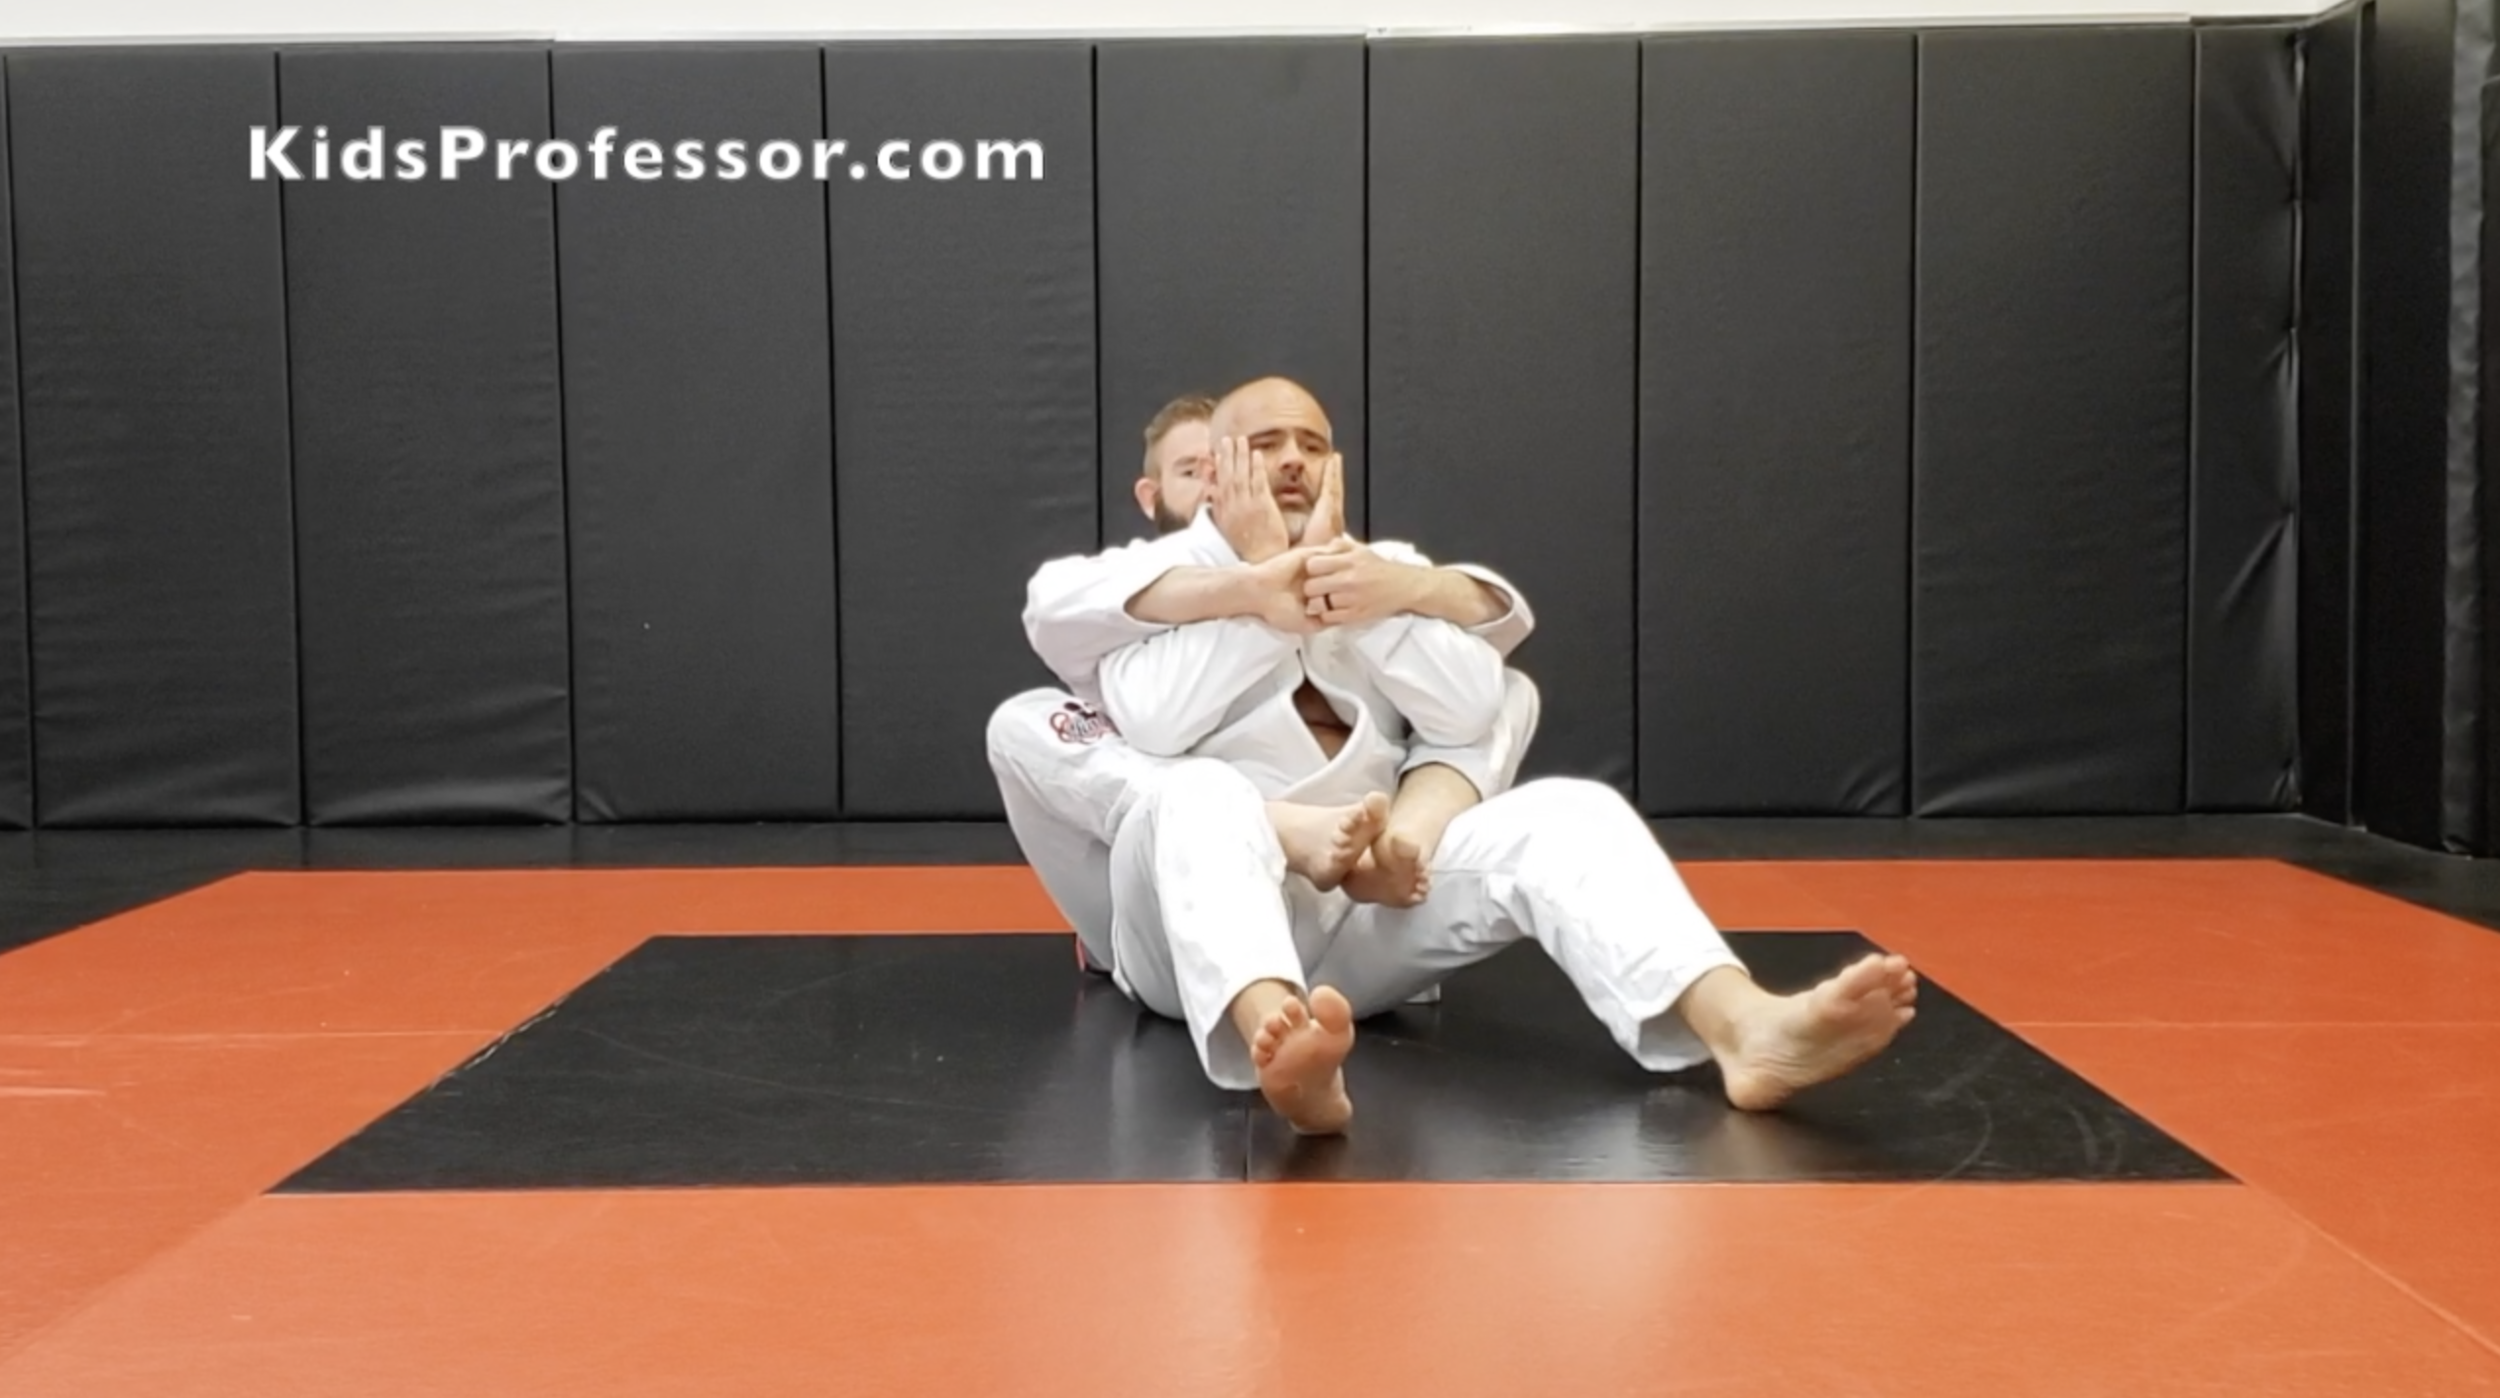
The practicing student will start seated on their bottom with their hands in the Home Alone Position. The assisting student will sit directly behind the practicing student and wrap their feet around the waist of the practicing student (without their feet crossing). The assisting student will then hug around the torso and arms of the practicing student. Emphasize to the practicing student that they can not let the assisting student place any part of their arm, or grip, under their armpit. Encourage a strong pinch with the elbows into the ribs with their hands on their face prior to the assisting student fitting into the position.
As the assisting student is clasping their hands the practicing student will slightly extend their legs, dig their heels into the floor, and pull their hips towards their heels. This is not a full Reverse Shrimp as the goal is to create a binding pressure between the ankles and hip of the assisting partner. This movement, initially, is a very flat movement. This means the lower back, and middle back stay flat towards the floor. Only after creating space towards the ankles should a side be chosen. Once the side is chosen, the practicing student will let their shoulder slip to the floor between the legs of the assisting student. This should align one shoulder on the floor directly next to the pelvis and point the chest towards one of the legs.
It is extremely important that the top arm stay as tight as possible as it will be elevated in a position that could leave it vulnerable to attack, primarily from the Kimura. Once the shoulder hits the floor there will be a small pocket of space near the knee pit. The practicing student should then take their bottom arm and slide it under the leg. This space is crowded and this part of the technique is going to take some practice.
It is important to control just above the knee with the hand that went under the leg. The controlling of the knee will be important to preventing the Triangle, the Crucifix, or allowing the assisting student to come back up on top. Once the knee has been dominated, the practicing student will tuck their elbow of the arm controlling the assisting student’s knee and turn their body over on top of the leg. Make sure the student knows the goal is to lay ON the leg and not to clear the leg.
Once the leg is tightly secured between the chest/belly of the practicing student and the floor, the practicing student will reach their outside hand (that has been previously only staying tight to the ribs) and make a grip on the collar or sleeve of the assisting student. The practicing student will then slowly slide themselves over the leg while simultaneously pulling with their grip on the collar or sleeve. This should partially crunch the assisting student and prevent them from elevating to come up the back or arching to make space.
Possible Extensions:
Pairing this escape with a back take will help emphasize the importance of pinching the elbows early to prevent the seatbelt grip. Make sure to use a technique that does not involve the seatbelt, like the Hook Replacement.
Combine the first part of this movement where the student gets their shoulder to the floor with any pass that uses the Double Unders. Rather than using the Belly Flop cue, the practicing student will thread their second hand to the inside and then belly down.
If the student is familiar with Deep Half, when he/she controls just above the knee, they are actually in Deep Half. This pairs very well with the Homer Simpson sweep.
Possible Refinements:
Maintaining proper hand placement is going to be extremely important. Make sure the elbows are pinched throughout the movements.
Just before moving into the “Belly Flop” the top hook may still be in the way and prevent the ability to safely turn over. If this happens the practicing student should straighten their top leg, then pinch the knee towards the floor, draw the knee up to their other knee and open the leg. This should clear the top hook. While this is confusing in writing, make sure to reference the video to gain an understanding of this movement.
Very often students that are new to this technique will have problems with the initial modified Reverse Shrimp because they will choose a side too soon. This initial movement takes place with the shoulders angled evenly to the mat to create the binding pressure on the hips. Again, make sure to reference the video to properly understand this part of the technique.
Reference materials:
Teaching Reflections:
How did I do teaching?
What could I do better next time?
Did the student gain proficiency in lesson material?